Graco pump repair kits are essential for maintaining and repairing Graco pumps‚ ensuring optimal performance and longevity. These kits include genuine parts‚ tools‚ and instructions for proper repair‚ helping users address common issues safely and effectively. By using genuine Graco components‚ users can ensure compatibility and avoid potential warranty voidance‚ while following detailed guidelines promotes efficient and reliable pump operation.
1.1 Overview of Graco Pump Repair Kits
Graco pump repair kits are designed to help users maintain and repair their pumps effectively. These kits include genuine Graco parts‚ tools‚ and detailed instructions to ensure compatibility and proper functionality. They are tailored for specific pump models‚ addressing common issues like leaks and worn-out components. By using these kits‚ users can restore their pumps to optimal performance while adhering to safety guidelines. The kits emphasize the importance of genuine parts to avoid warranty voidance and ensure reliable operation. They also provide step-by-step guidance for DIY repairs‚ making the process accessible for all skill levels. Additionally‚ the kits are compatible with various Graco pump models‚ including high-pressure and chemical pumps‚ ensuring versatility for different applications.
1.2 Importance of Using Genuine Graco Parts
Using genuine Graco parts is crucial for ensuring the reliability and performance of your pump. Non-Graco parts may void the warranty and can lead to compatibility issues‚ potentially causing damage or reducing pump efficiency. Genuine parts are designed to meet exact specifications‚ ensuring optimal performance and longevity. They are also built to handle the pressure and stress of high-demand applications safely. Using authentic components guarantees compliance with safety standards and prevents unexpected failures. Always verify the authenticity of parts to maintain your pump’s warranty and operational integrity. Consult Graco’s manual or customer support for any questions.
1.3 Safety Precautions Before Starting Repair
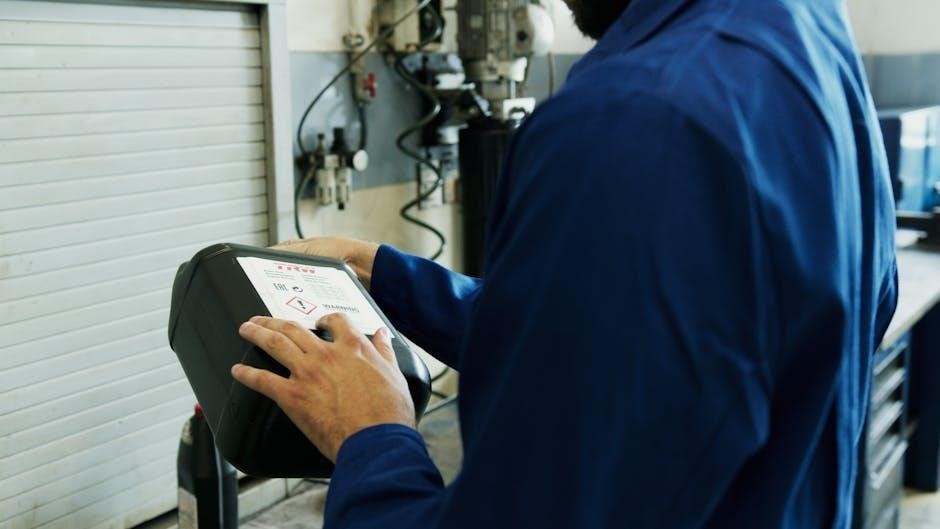
Before beginning any repair‚ ensure the pump is turned off and disconnected from the power source. Relieve all pressure in the system to prevent accidental start-ups or fluid leaks. Wear protective gear‚ including gloves and safety goggles‚ to protect against potential hazards. Always follow the manufacturer’s safety guidelines and consult the repair manual for specific precautions. Never attempt repairs while the pump is operational or under pressure. Properly isolate the system to avoid exposure to hazardous materials or moving parts. Failure to adhere to these precautions can result in serious injury or equipment damage.
Essential Tools and Materials Needed
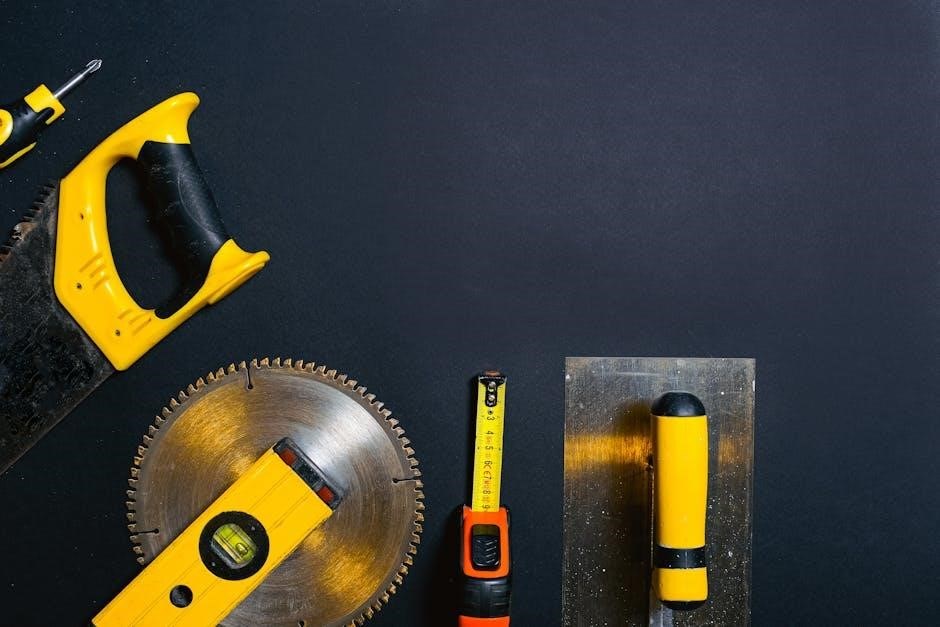
Essential tools include wrenches‚ screwdrivers‚ and pliers. Materials like seals‚ gaskets‚ O-rings‚ and lubricants are typically included in Graco repair kits for efficient and proper pump restoration.
2.1 List of Required Tools
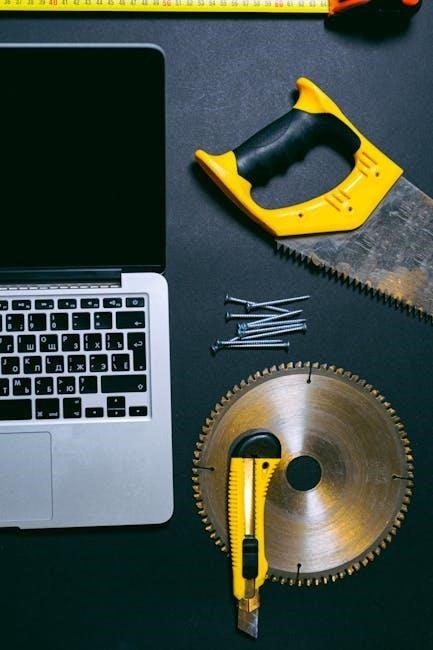
The essential tools needed for Graco pump repair include adjustable wrenches‚ screwdrivers‚ pliers‚ and a socket set. Additional items like a torque wrench and seal installation tools may be required for specific models. Ensure all tools are in good condition to avoid damaging the pump components. Proper lubrication tools‚ such as grease guns‚ are also necessary for reassembling and testing the pump. Having the right tools on hand will help prevent delays and ensure a safe‚ successful repair process. Refer to the manual for model-specific tool recommendations.
2.2 Materials Included in the Repair Kit
Graco pump repair kits typically include genuine replacement parts such as seals‚ gaskets‚ and O-rings‚ designed to restore optimal pump performance. The kit may also contain installation tools‚ lubricants‚ and a detailed instruction manual. These materials ensure compatibility and durability‚ preventing future issues. Using genuine Graco parts guarantees adherence to safety standards and maintains warranty validity. The kit provides everything needed for a successful repair‚ minimizing downtime and ensuring reliable operation. Always verify the contents against the manual to confirm all necessary materials are included.
2.3 Additional Materials Recommended for Repair
Beyond the standard repair kit‚ additional materials such as a pressure relief tool‚ lubricants for moving parts‚ and specialized cleaning solvents are recommended. A set of metric wrenches‚ pliers‚ and screwdrivers can also be helpful. For certain repairs‚ a piston assembly tool may be necessary to prevent damage to seals. Safety equipment‚ including gloves and eye protection‚ is essential. Depending on the repair scope‚ replacement hoses or fittings may be required. Always consult the manual for specific recommendations tailored to your pump model and repair needs.

Pre-Repair Preparation
Pre-repair preparation involves disconnecting the pump from the system‚ draining fluids‚ and relieving pressure to ensure a safe working environment. Cleaning the pump and understanding its components is also crucial for a successful repair process.
3.1 Understanding the Pump Components
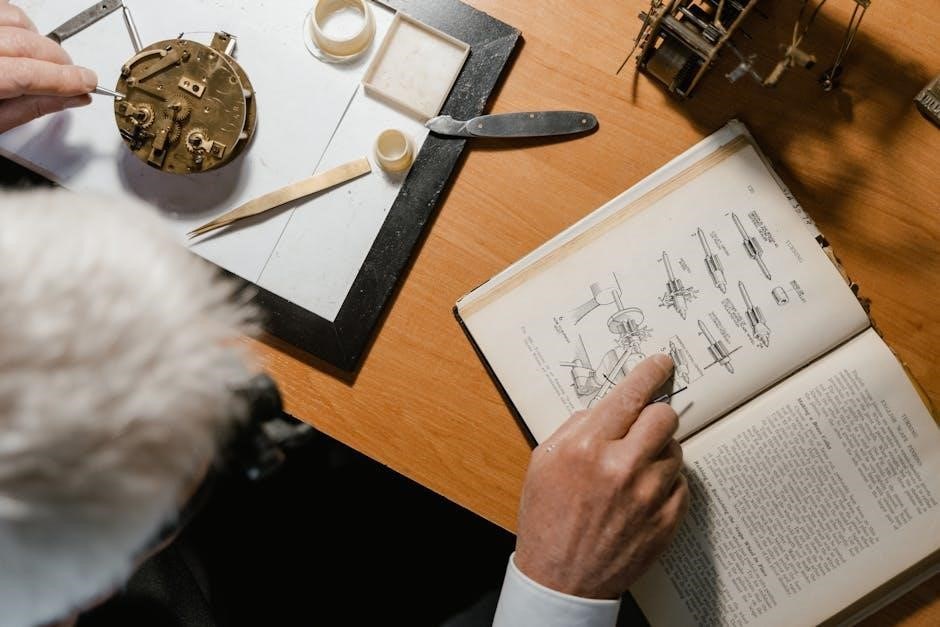
Understanding the pump components is crucial for effective repair. Familiarize yourself with parts like seals‚ gaskets‚ and pistons‚ as their proper function ensures optimal performance. Refer to the manual for detailed diagrams and descriptions. Knowing the role and location of each component helps in diagnosing issues and selecting the right replacement parts. Always handle components with care to avoid damage. This knowledge ensures a systematic approach to repair‚ minimizing errors and downtime. Proper identification also helps in following the repair kit instructions accurately‚ ensuring a successful outcome.
3.2 Cleaning the Pump Before Repair
Cleaning the pump before repair is essential to ensure a successful process. Remove dirt‚ grime‚ and old sealants using mild detergents and soft brushes. Avoid abrasive materials that could damage surfaces. Rinse thoroughly and dry with compressed air or a clean cloth. This step prevents contaminants from interfering with new parts and ensures proper sealing. Always wear protective gloves and eyewear during cleaning. A clean pump surface allows for accurate inspection and ensures new components fit and function correctly‚ reducing the risk of future leaks or performance issues.
3.3 Disconnecting the Pump from the System
Before starting repairs‚ disconnect the pump from the system to ensure safety and prevent accidental operation. Turn off the power supply and relieve pressure according to the manual’s instructions. Disconnect electrical connections and hydraulic lines‚ taking care not to damage any components. Use appropriate tools‚ such as wrenches‚ to remove couplers or fittings. Drain any remaining fluids into a container to avoid spills. Once disconnected‚ label all lines and connections for easy reinstallation later. Always refer to the specific pump model’s manual for detailed disconnection procedures to ensure compliance with safety guidelines.
3.4 Draining Fluids and Relieving Pressure
Draining fluids and relieving pressure are critical steps before repairing your Graco pump. Turn off the power supply and activate the pressure relief valve as instructed in the manual. Disconnect hydraulic lines and allow the system to depressurize completely. Use a container to catch any remaining fluids to prevent spills. Ensure all pressure is released to avoid accidental startup or fluid injection hazards. Refer to your specific pump model’s manual for detailed pressure relief procedures to ensure a safe working environment before proceeding with repairs.

Step-by-Step Repair Process
Graco pump repair involves dismantling‚ identifying damaged parts‚ replacing with genuine components‚ and reassembling. Follow manual instructions for safe‚ efficient restoration of pump functionality.
4.1 Dismantling the Pump
Dismantling the Graco pump is the first step in the repair process. Begin by turning off the power supply and draining all fluids to ensure safety. Use specialized tools like wrenches and screwdrivers to carefully remove external components such as hoses‚ fittings‚ and covers. Gently disassemble internal parts‚ taking note of their arrangement for proper reassembly. Handle fragile components with care to avoid damage. Always refer to the repair manual for specific dismantling instructions tailored to your pump model. This step requires patience and attention to detail to ensure a successful repair process.
4.2 Identifying and Removing Damaged Parts
After dismantling‚ inspect each component for damage‚ wear‚ or corrosion. Use the repair manual to identify specific parts that may fail. Look for signs like cracks‚ scoring‚ or excessive wear on seals‚ gaskets‚ and pistons; Remove damaged parts carefully to avoid further damage to the pump. Use appropriate tools to dislodge stuck components‚ and ensure all debris is cleared. Document the removed parts for accurate replacement. This step ensures a thorough repair‚ preventing future issues and maintaining pump efficiency.
4.3 Installing New Seals and Gaskets
Begin by inspecting the areas where new seals and gaskets will be installed. Clean and lubricate the components with a silicone-based lubricant to ensure proper seating. Align the new seals with the designated grooves‚ pressing them firmly into place. For gaskets‚ apply a thin layer of sealant if recommended by the manufacturer. Use a soft mallet to tap components into position‚ ensuring they are flush and even. Finally‚ test the installation by applying gentle pressure or running a small test cycle to check for leaks or misalignment.
4.4 Reassembling the Pump
Begin reassembling the pump by referring to the repair manual for correct component alignment. Clean and lubricate all mating surfaces to ensure smooth operation. Reattach the pump housing‚ ensuring all bolts are securely tightened in a star pattern to avoid warping. Install the drive shaft and bearings‚ followed by the seal carriers and impeller. Align all components precisely to avoid imbalance. Finally‚ reconnect the inlet and outlet ports‚ ensuring they are tightened evenly. Double-check all connections for proper seating and security before proceeding to testing.
4.5 Testing the Pump After Repair
After reassembling‚ perform a thorough pressure test to ensure the pump operates within specified limits. Check for any leaks around seals and connections by visually inspecting all joints. Run the pump at low pressure initially to verify smooth operation. Gradually increase pressure while monitoring performance and noise levels. Ensure all components function as intended‚ with no unusual vibrations or sounds. Finally‚ confirm that the pump meets the required flow rate and pressure output. Always follow the manufacturer’s test procedures outlined in the repair manual for accurate results.
Troubleshooting Common Issues
Identify leaks‚ low pressure‚ or clogs by inspecting seals‚ valves‚ and hoses. Use genuine Graco parts to address issues‚ ensuring proper function and longevity of the pump.
5.1 Diagnosing Leaks in the Pump
Diagnosing leaks in a Graco pump involves inspecting seals‚ gaskets‚ and connections; Start by visually examining the pump for signs of fluid escape. Use a pressure test to identify leaks under operation. Check areas like the piston seal‚ valve assembly‚ and O-rings. Ensure all connections are tightened properly. If a leak is found‚ refer to the repair kit instructions for replacement procedures. Always use genuine Graco parts to maintain warranty and performance. Relieve pressure before starting any inspection to ensure safety and avoid fluid injection risks.
5.2 Addressing Low Pressure Output
Low pressure output in a Graco pump can result from blocked inlet/outlet ports‚ worn seals‚ or improper installation. Begin by checking for debris or clogs in the pump’s intake and discharge lines. Inspect the piston and cylinder for wear‚ and ensure all connections are secure. Replace any damaged or worn components using genuine Graco parts. Verify that the pump is correctly sized for the application and that fluid levels are adequate. Follow the repair kit instructions for replacing seals and gaskets‚ and test the pump after repairs to confirm proper pressure restoration.
5.3 Fixing Blocked or Clogged Parts
Blocked or clogged parts in a Graco pump can disrupt fluid flow and reduce efficiency. Start by shutting off the pump and relieving pressure. Disconnect the pump from the system and drain any fluids. Inspect the inlet‚ outlet‚ and internal components for debris or buildup. Clean or replace clogged screens or filters‚ and check for obstructions in the valves or piping. Use solvent or specialized tools to clear blockages‚ then reassemble and test the pump to ensure proper flow. Regular maintenance can help prevent future clogs and maintain optimal performance.
5.4 Resolving Motor or Electrical Issues
Motor or electrical issues in Graco pumps can cause operational failures. Start by disconnecting power and relieving pressure. Check for loose connections‚ damaged wires‚ or faulty components. Consult the repair manual for troubleshooting guides. Replace any worn or damaged electrical parts with genuine Graco components. Ensure proper installation and follow safety precautions to avoid further damage. After repairs‚ test the pump at low pressure to confirm proper function. Regular inspections and maintenance can help prevent future electrical malfunctions and ensure reliable pump performance.
Post-Repair Maintenance
Reinstall the pump correctly‚ check for leaks‚ and perform routine maintenance to ensure longevity. Regular inspections and using genuine Graco parts guarantee optimal performance and reliability.
6.1 Reinstalling the Pump in the System
After successful repair‚ carefully reinstall the pump into its system. Ensure all connections are secure and aligned properly. Refer to the manual for specific instructions. Tighten all fluid connections to prevent leaks. Turn on the system gradually to test operation. Monitor for any signs of malfunction or leakage during initial startup. Proper installation ensures the pump operates efficiently and safely‚ maintaining system integrity and performance.
6.2 Checking for Leaks After Reinstallation
After reinstalling the pump‚ inspect all connections and seals for any signs of leakage. Apply a small amount of pressure to test the system. Visually inspect areas around gaskets‚ seals‚ and joints. Use a soapy water solution to detect air or fluid leaks. Ensure all bolts and fittings are tightened to the recommended torque specification. Monitor the pump during initial operation to confirm proper function and seal integrity. Address any leaks promptly to prevent system damage or fluid loss‚ ensuring optimal performance and safety.
6.3 Routine Maintenance to Prevent Future Issues
Routine maintenance is crucial for preventing future issues with your Graco pump. Regularly inspect hoses‚ connections‚ and seals for wear or damage. Clean or replace filters as recommended to ensure proper flow and pressure. Lubricate moving parts and check fluid levels to maintain optimal performance. Replace worn or damaged components promptly to avoid system downtime. Follow the manufacturer’s maintenance schedule and keep detailed records of servicing; Consistent upkeep ensures reliability‚ extends equipment lifespan‚ and minimizes the risk of unexpected failures.
6.4 Scheduling Regular Inspections
Scheduling regular inspections is vital for maintaining the health and efficiency of your Graco pump. Plan inspections at intervals recommended by the manufacturer to identify potential issues early. During inspections‚ check for worn or damaged parts‚ such as seals‚ gaskets‚ and hoses‚ and address them promptly. Ensure all connections are tight and free from leaks. Keep a maintenance log to track inspections and repairs. Regular checks help prevent unexpected downtime‚ extend the pump’s lifespan‚ and ensure optimal performance. Adhering to a routine inspection schedule is key to maintaining reliability and safety.

Resources and Support
Graco offers comprehensive resources‚ including manuals‚ customer support‚ and online forums‚ to assist with pump repair. Visit their official website for detailed guides‚ troubleshooting tips‚ and repair kit instructions.
7.1 Accessing Graco Repair Manuals
Graco repair manuals are readily available on the official Graco website. These manuals provide detailed instructions‚ parts lists‚ and safety guidelines for repairing Graco pumps. Users can search by model number or product name to find specific manuals. For example‚ the HIGH-FLO Pumps instruction manual 308-793 offers critical safety warnings and service instructions. Additionally‚ manuals like 310643W Displacement Pump include step-by-step repair guides and troubleshooting tips. Always refer to these official resources to ensure accurate and safe repairs‚ maintaining warranty compliance and optimal pump performance.
7.2 Contacting Graco Customer Support
For assistance with Graco pump repair kits‚ customers can contact Graco’s dedicated support team. The official Graco website provides contact details‚ allowing users to reach out via phone‚ email‚ or online forms. Support specialists are available to address questions about repair kits‚ troubleshooting‚ and warranty claims. Additionally‚ Graco’s customer service can guide users to the correct repair manuals and parts‚ ensuring that repairs are done correctly and efficiently. This direct support helps users resolve issues promptly and maintain their equipment’s performance and longevity.
7.3 Online Communities and Forums for Assistance
Online forums and communities offer valuable resources for Graco pump repair kit instructions. Websites like Graco’s official forums and independent forums host discussions where users share experiences‚ tips‚ and solutions. These platforms allow individuals to ask questions‚ receive advice from experienced users‚ and access shared knowledge. Additionally‚ many forums include links to repair manuals‚ video tutorials‚ and troubleshooting guides‚ making them a comprehensive resource for diagnosing and resolving pump-related issues effectively.
7.4 Video Guides and Tutorials
Video guides and tutorials provide visual step-by-step instructions for Graco pump repair‚ making complex tasks easier to understand. Graco offers downloadable guides and videos that cover topics like seal replacement‚ troubleshooting‚ and pump assembly. These resources are available on Graco’s official website and YouTube channel‚ ensuring users have access to detailed demonstrations. Videos often include tips for maintaining pump performance and safety precautions‚ helping users achieve professional-level repairs at home. They are an invaluable resource for both novice and experienced users seeking to resolve issues efficiently.
Warranty and Replacement Information
Graco’s warranty covers defects in genuine parts‚ with claims requiring proof of purchase. Replacement is recommended if repairs are uneconomical or the pump is extensively damaged.
8.1 Understanding Graco’s Warranty Policy
Graco’s warranty policy ensures protection against manufacturing defects in genuine parts. Coverage typically lasts for a specified period and includes repairs or replacements at no cost. To make a claim‚ contact Graco customer support with proof of purchase and a detailed description of the issue. Valid claims are addressed promptly‚ with Graco repairing or replacing defective parts. Using non-Graco parts may void the warranty‚ emphasizing the importance of using authentic components. Always review the manual for specific terms and conditions‚ as they may vary by product and region.
8.2 Process for Warranty Claims
To initiate a warranty claim‚ contact Graco customer support with proof of purchase and a detailed description of the issue. Provide the pump’s serial number and explain the defect or malfunction. Graco will review the claim and determine if it falls under warranty coverage. If approved‚ Graco will repair or replace the defective part at no cost. Ensure all documentation is complete and accurate to expedite the process. For specific instructions‚ refer to the warranty section in your pump’s manual or visit Graco’s official website.
8.3 When to Consider Replacing the Pump
Replace the pump if repairs are no longer cost-effective or practical. Consider replacement when the pump experiences excessive wear‚ frequent breakdowns‚ or irreversible damage. If the pump’s performance significantly declines despite proper maintenance‚ it may be time for a new unit. Additionally‚ if the pump’s framework or critical components are severely compromised‚ replacement is recommended to ensure safety and efficiency. Always use genuine Graco parts for any repair to maintain warranty validity and optimal performance.
Environmental and Safety Considerations
Ensure proper disposal of old parts and handle hazardous materials safely. Follow local regulations and use genuine Graco parts to maintain environmental and safety standards.
9.1 Proper Disposal of Old Parts
Proper disposal of old parts from Graco pump repair kits is crucial for environmental protection. Always check local regulations for hazardous waste disposal. Separate materials like metals‚ plastics‚ and fluids‚ and recycle when possible. Never dispose of hazardous materials in regular trash. Use authorized facilities to ensure safe handling and minimize environmental impact. Proper disposal aligns with environmental policies and prevents contamination. Refer to local guidelines for specific instructions on handling and recycling old pump components responsibly.
9.2 Handling Hazardous Materials Safely
When handling hazardous materials during Graco pump repair‚ always wear protective gear like gloves and safety glasses. Ensure proper ventilation to avoid inhaling harmful fumes. Follow pressure relief procedures to prevent fluid injection or splashing. Use approved containers for storing hazardous waste. Dispose of materials responsibly according to local regulations and environmental guidelines. Refer to the repair manual for specific safety instructions and ensure all precautions are taken to minimize risks and protect both people and the environment during the repair process.
9.3 Compliance with Local Regulations
Ensure all Graco pump repair activities comply with local‚ state‚ and federal regulations. Familiarize yourself with environmental and safety standards in your area. Properly dispose of hazardous materials and fluids as required by law. Keep records of repairs and waste disposal for accountability. Adhere to Graco’s guidelines to maintain compliance and avoid legal penalties. Always follow local regulations to protect the environment and ensure a safe working environment during and after the repair process.
Graco pump repair kits offer a comprehensive solution for maintaining and restoring pump functionality. By following instructions and using genuine parts‚ users ensure efficient‚ safe‚ and long-lasting repairs‚ optimizing performance and extending equipment lifespan effectively.
10.1 Summary of Key Repair Steps
Repairing a Graco pump involves essential steps to ensure safety and effectiveness. Begin by disconnecting the pump from the system and relieving pressure. Dismantle the pump carefully‚ identifying and replacing damaged parts with genuine Graco components. Install new seals and gaskets‚ ensuring proper alignment and tightening. Reassemble the pump systematically‚ following the manual’s guidelines. After reassembly‚ test the pump for leaks and functionality. Regular maintenance‚ such as checking for wear and adhering to safety protocols‚ will prevent future issues and extend the pump’s lifespan.
10.2 Final Tips for Successful Repair
Always use genuine Graco parts to ensure compatibility and maintain warranty validity. Follow the repair manual closely‚ adhering to safety guidelines like pressure relief and proper tool usage. Clean and lubricate components before reassembly to prevent wear. Test the pump under normal operating conditions to confirm functionality. Regular inspections and maintenance will help prevent future issues. For complex problems‚ consult Graco’s resources or contact support for assistance‚ ensuring your repair is both effective and long-lasting.
10.3 Encouragement for Further Learning
Continuing to learn about Graco pump repair enhances your troubleshooting and maintenance skills‚ ensuring long-term efficiency. Explore Graco’s official manuals‚ video guides‚ and online forums for in-depth insights. Practicing regular maintenance and staying updated with new techniques will boost your confidence in handling repairs. Engaging with Graco’s customer support and expert communities can also provide personalized advice. Embrace lifelong learning to master Graco pump repair and keep your equipment performing at its best for years to come.